if you ask me, being short brings many adventages and I never had any real or mental problem with it:) when you're 158 cm you can comfortably squeeze yourself into whatever bus/plane/train seat which is great during long journeys. besides, being petite makes people instinctively more sensitive about you - I bet the great desmond morris would have a lot to say about that.
HOWEVER, it's pretty obvious that being shorter than average (just as being taller/with wider or narrower hips/smaller or larger bust etc.) may cause problems when it comes to clothes that are designed to fit „average” measurements. for me it very often means that when I try a dress that is supposed to be fitted in waist, it will simply have waist where I have hips and hips where I have thighs. a disastrous look, as you can imagine:) I want to show you a very simple way of rectifying that problem.
NOTE: if you're learning to sew, it's a great way of exercising your skills - it's a very simple, yet practical test.
materials: all you'll need is basic sewing equipment (pins, scissors, measuring tape, sewing machine) and a waisted dress. I used a summer dress I found long time ago on a flea market. it's obviously too large and too „high” for me – the skirt part should start just beneath my waist and yet it hangs low, somewhere on my hips.
remebmer to take into concideration that a finished dress will be shorter than it's right now.
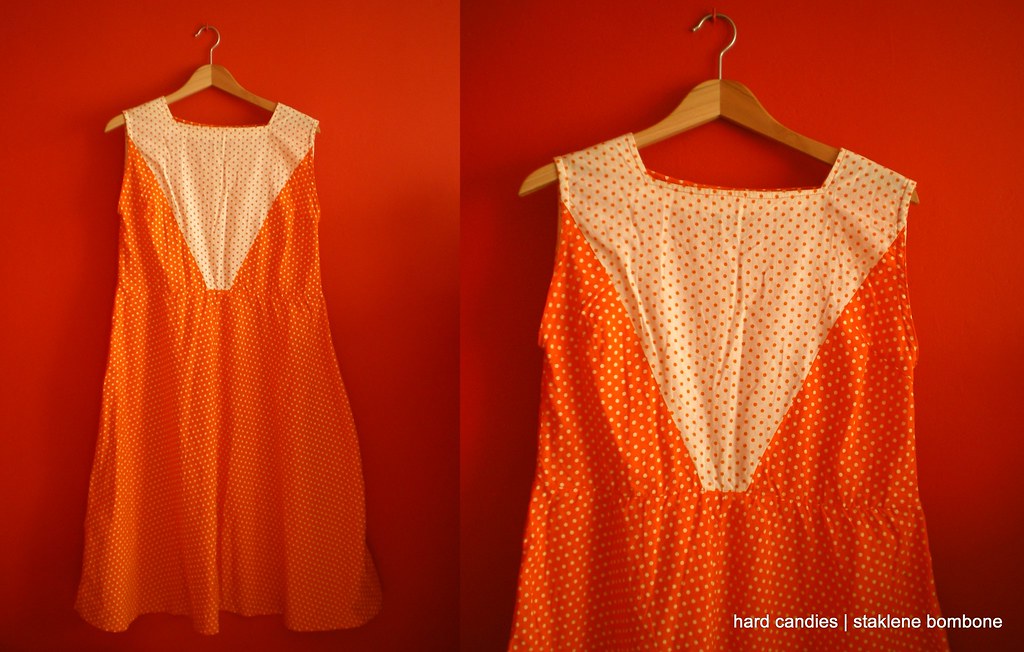
here goes a very brief description of what my standard procedure in such circumstances is:
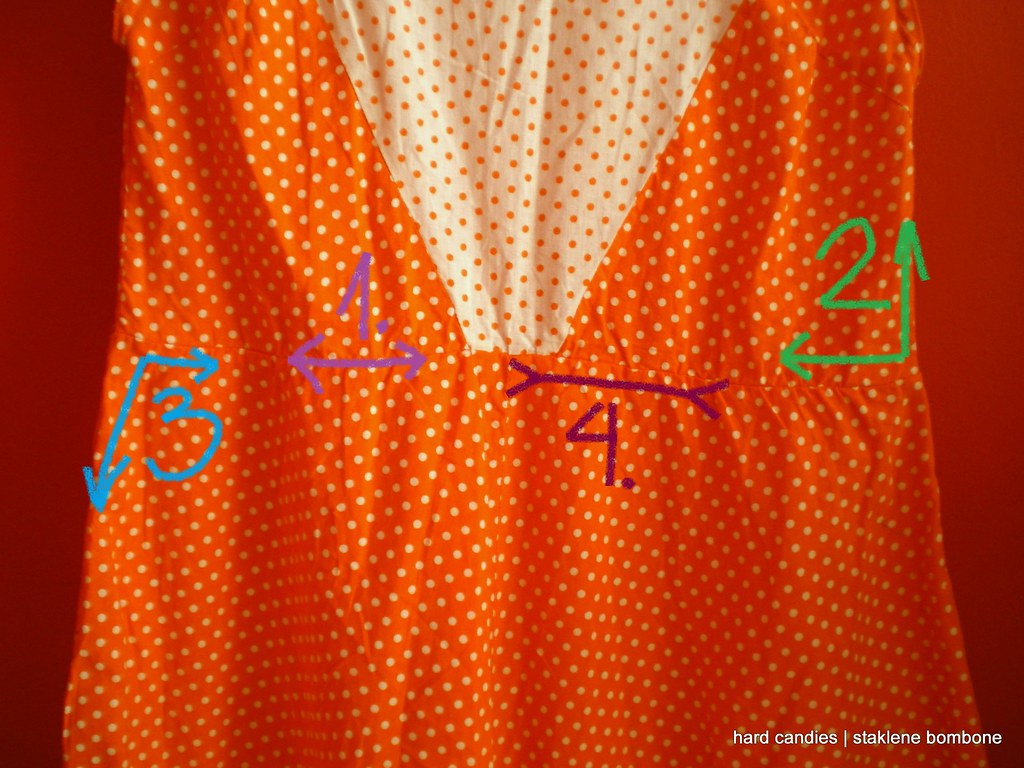
1. unstitch the part with the skirt – you'll have two seperate parts now: a „skirt” and a „blouse”. Let's start with the second one.
2. take your measurement: measure how many cm there are from your arm to waist – that's going to be the lenght of the blouse (remember to leave it ca 1 cm longer – you'll need it to sew the two parts together). additionally if the dress is too large, measure your bust and waist – that's going to be the width of the upper and lower part of the blouse. Remember to turn it inside out, mark the measurements and simply narrow it. Try in on – if it's ok, you're done with this part, if something's too loose/tight/long, you'll need to unstitch it and do it again. a remark: if you want the blouse-part to be really fitted and the fabric doesn't stretch, you may need to sew in a zipper on the side/back. The dress from the photo was meant to stay a bit loose, so this time I didn't bother myself with a zipper as I can smoothly put it on through my head.
3. now, let's get to the skirt – if you want to have a plain dress, you will have to make sure that the upper part of the skirt is of the same width as the lower part of the blouse. that means, that you'll probably have to narrow the skirt a bit. of course, you may as well go for some ruffles/folds in the waist – in that case, don't narrow the skirt, just pin it to the blouse the way you fancy and sew it together.
4. last part – turn both parts inside out, pin them together and simply sew it together. you're done.
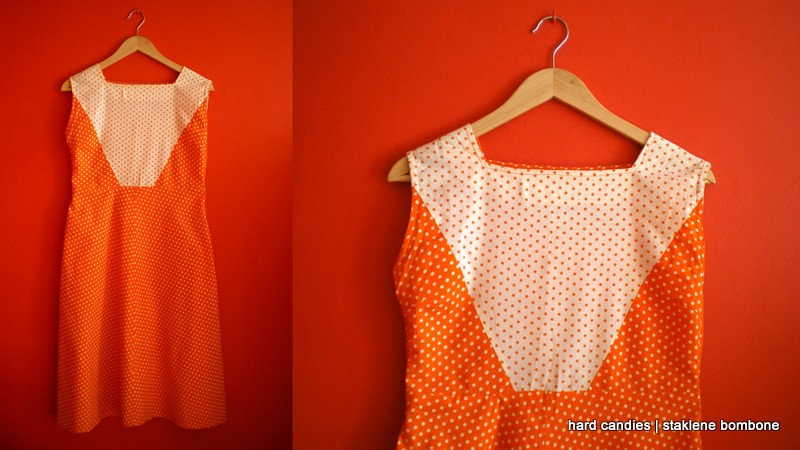
this is what I often do with my dresses and I find it the best and easiest way to make them fit well. there's no philosophy behind it and you don't have to be extremly skilled with a sewing machine (I defenitely am not;)).
cheers!
-oh
HOWEVER, it's pretty obvious that being shorter than average (just as being taller/with wider or narrower hips/smaller or larger bust etc.) may cause problems when it comes to clothes that are designed to fit „average” measurements. for me it very often means that when I try a dress that is supposed to be fitted in waist, it will simply have waist where I have hips and hips where I have thighs. a disastrous look, as you can imagine:) I want to show you a very simple way of rectifying that problem.
NOTE: if you're learning to sew, it's a great way of exercising your skills - it's a very simple, yet practical test.
materials: all you'll need is basic sewing equipment (pins, scissors, measuring tape, sewing machine) and a waisted dress. I used a summer dress I found long time ago on a flea market. it's obviously too large and too „high” for me – the skirt part should start just beneath my waist and yet it hangs low, somewhere on my hips.
remebmer to take into concideration that a finished dress will be shorter than it's right now.
here goes a very brief description of what my standard procedure in such circumstances is:
1. unstitch the part with the skirt – you'll have two seperate parts now: a „skirt” and a „blouse”. Let's start with the second one.
2. take your measurement: measure how many cm there are from your arm to waist – that's going to be the lenght of the blouse (remember to leave it ca 1 cm longer – you'll need it to sew the two parts together). additionally if the dress is too large, measure your bust and waist – that's going to be the width of the upper and lower part of the blouse. Remember to turn it inside out, mark the measurements and simply narrow it. Try in on – if it's ok, you're done with this part, if something's too loose/tight/long, you'll need to unstitch it and do it again. a remark: if you want the blouse-part to be really fitted and the fabric doesn't stretch, you may need to sew in a zipper on the side/back. The dress from the photo was meant to stay a bit loose, so this time I didn't bother myself with a zipper as I can smoothly put it on through my head.
3. now, let's get to the skirt – if you want to have a plain dress, you will have to make sure that the upper part of the skirt is of the same width as the lower part of the blouse. that means, that you'll probably have to narrow the skirt a bit. of course, you may as well go for some ruffles/folds in the waist – in that case, don't narrow the skirt, just pin it to the blouse the way you fancy and sew it together.
4. last part – turn both parts inside out, pin them together and simply sew it together. you're done.
this is what I often do with my dresses and I find it the best and easiest way to make them fit well. there's no philosophy behind it and you don't have to be extremly skilled with a sewing machine (I defenitely am not;)).
cheers!
-oh